Since August gets pretty hot down here in Florida we thought it might be nice to take some photos indoors this week. We decided to construct a DIY backdrop for an indoor photo booth. We bought some colorful tissue paper at the local Target. If we’d had more time we would have bought a pack with better price and variety from Amazon.
For our first photo booth DIY I decided to keep things simple. I know a craft project is simple when I show the idea to Jake and he doesn’t walk away muttering. I went with a fringed tissue paper backdrop with tissue paper flowers.
The first step is to pick your colors. I decided on a bright color scheme with fuchsia, orange, blue, white and gray. To determine how much paper you need, estimate that you will get two inches in height out of each layer (because they overlap), so if you want the backdrop to be 6 feet high you will need 36 layers, assuming you start at the floor. If your tissue paper is 26 inches long like mine was, you will want at least two pieces for each layer, so it’s a good thing you are going to cut them in half.
Fold the tissue paper in half the long way and cut down the fold. You can do several sheets at a time if your scissors are good.
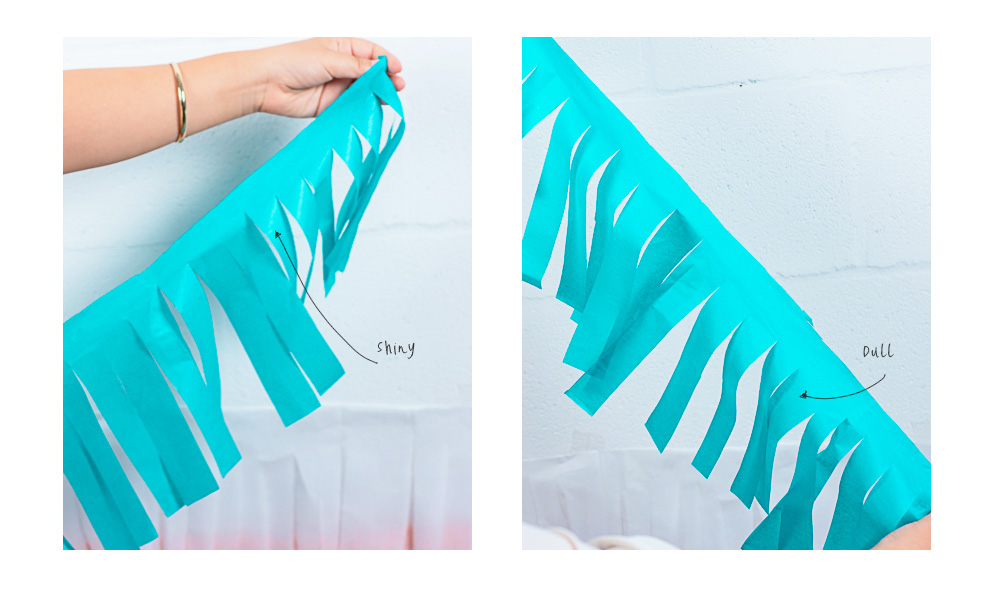
Next, start cutting the fringes. Stop about an inch from the top of the paper and make your cuts about 1/2 an inch to 1 inch apart. If you cut too close to the edge it will tear easily when you try to move it or hang it up.
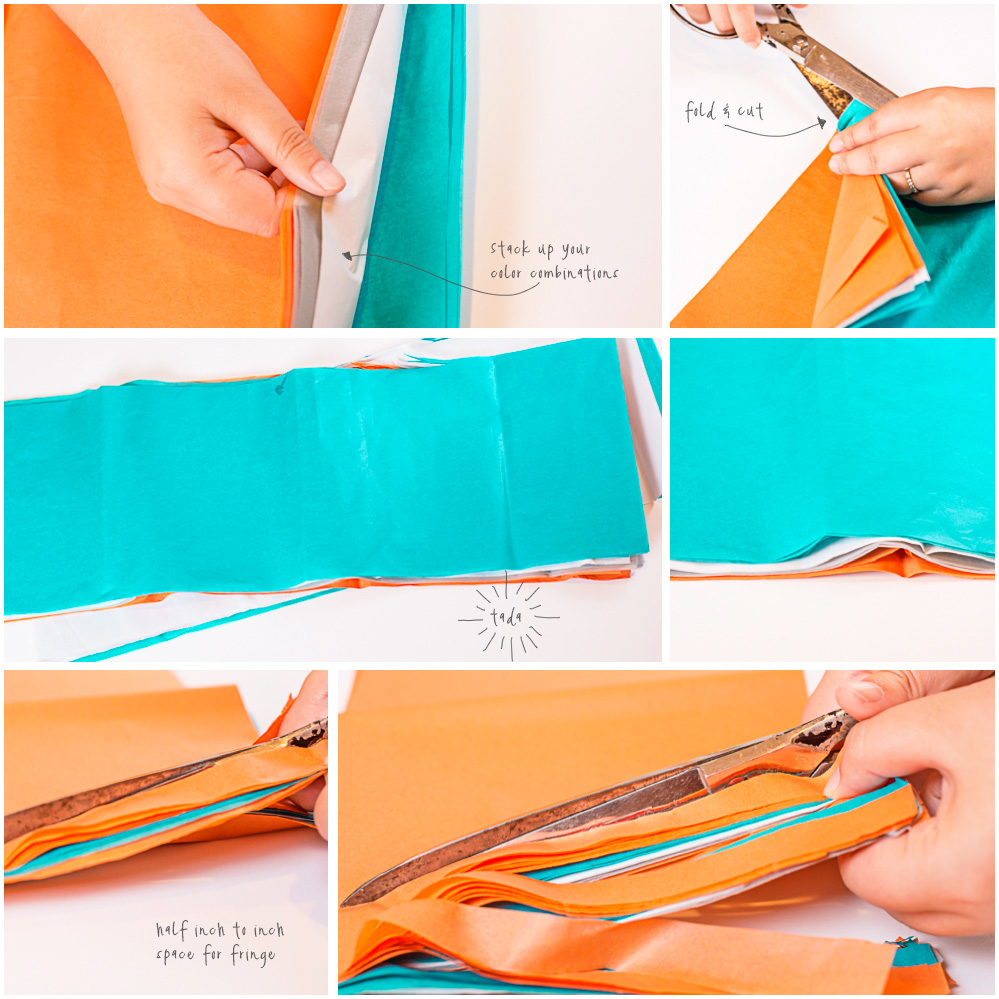

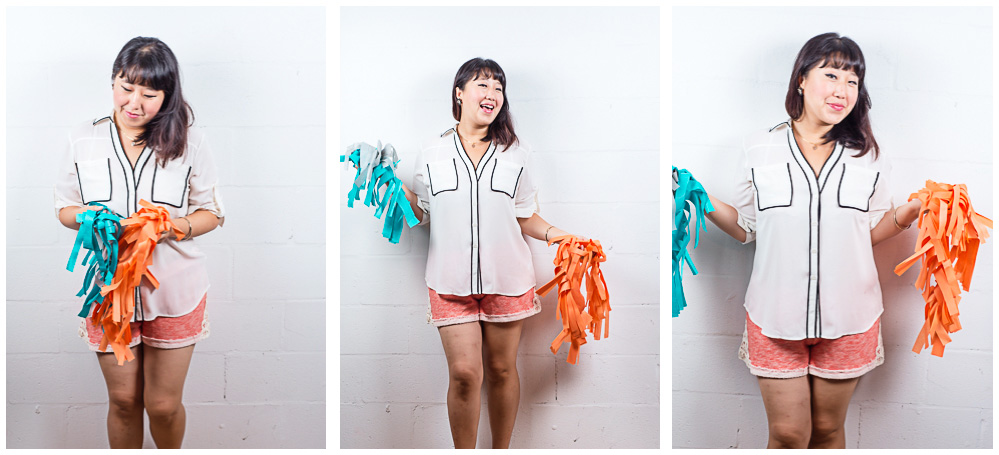
You’ll wind up with a few piles of differently colored tissue paper. Try to visualize what they will look like side by side to determine what order you will hang them up in.
Before you start hanging up the background, make the paper flowers while you still have everything out.
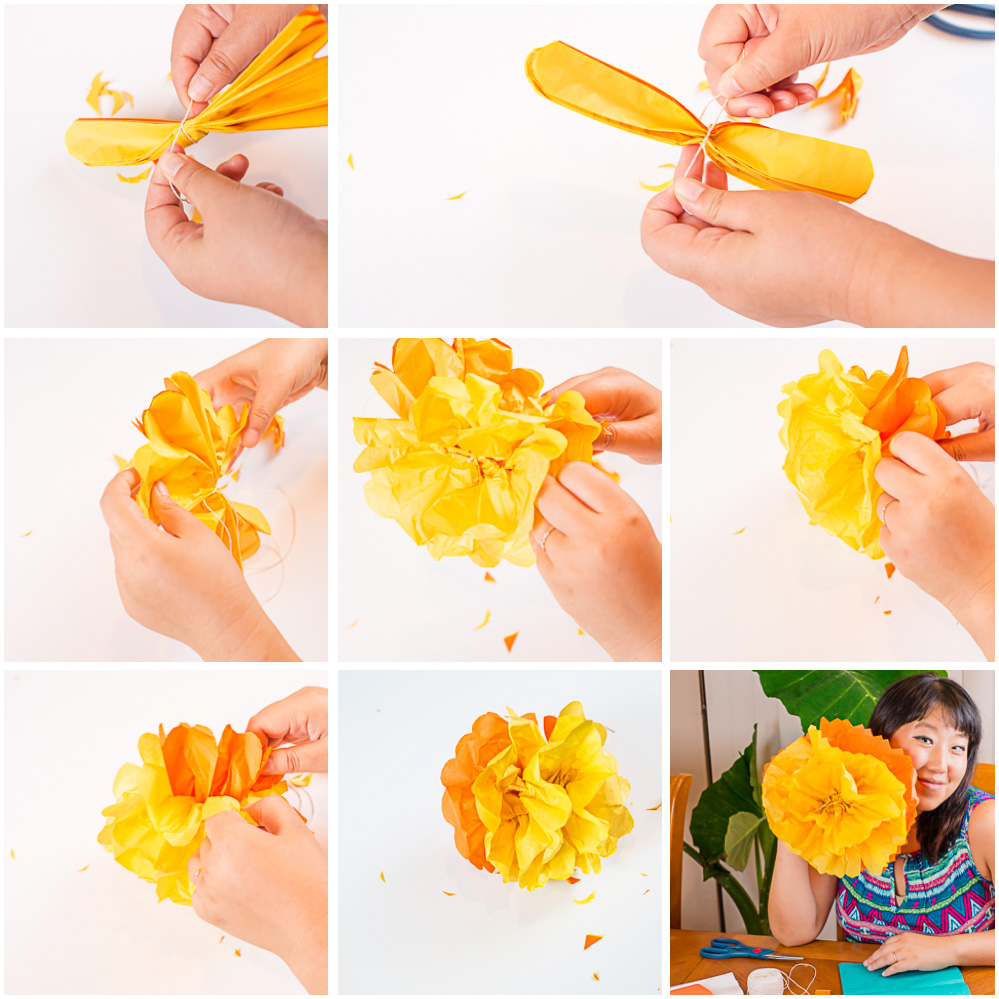
For the flowers, cut some rectangles of tissue paper. The length of the shortest side will be the diameter of your flower, and the length of the longest side will be proportional to the number of frills. To decide how many sheets of paper to use, decide how many layers of petals you want to have. One sheet will look kind of like a daisy, two will look more like a daffodil, and 5 will look something like a marigold.
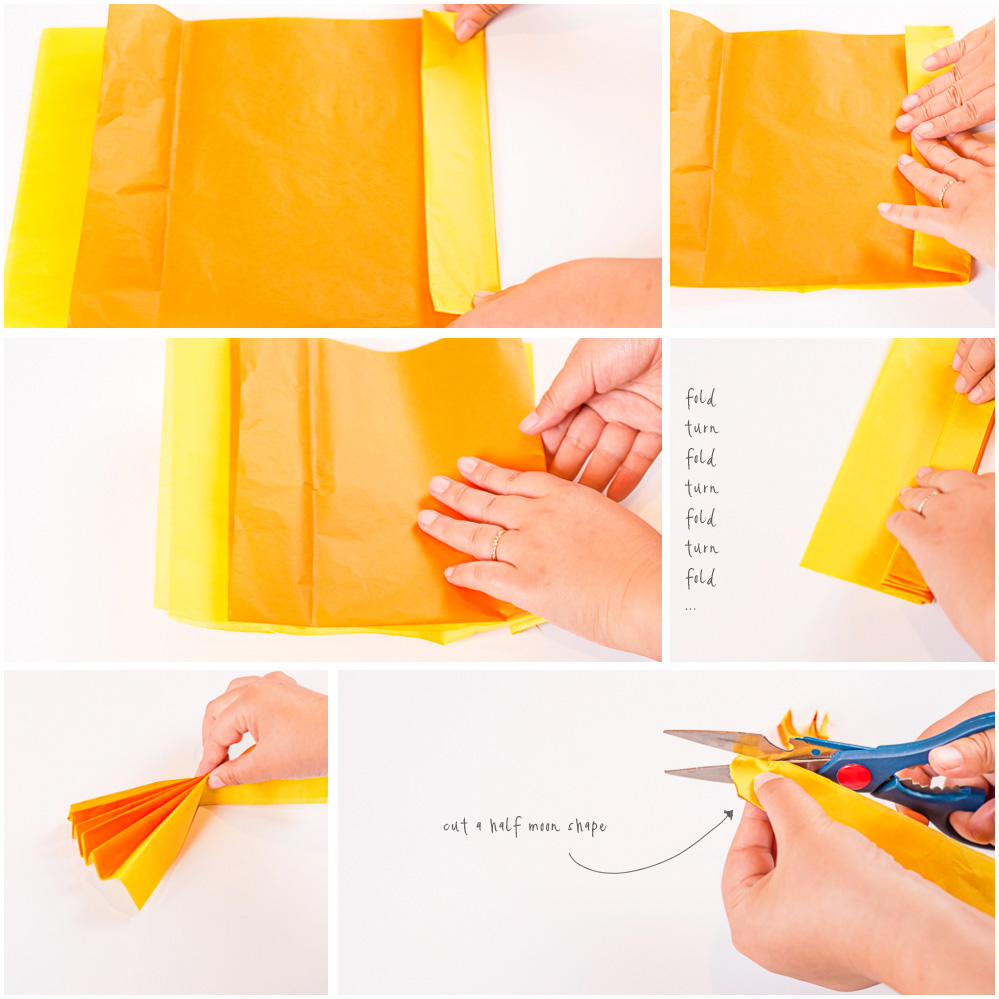
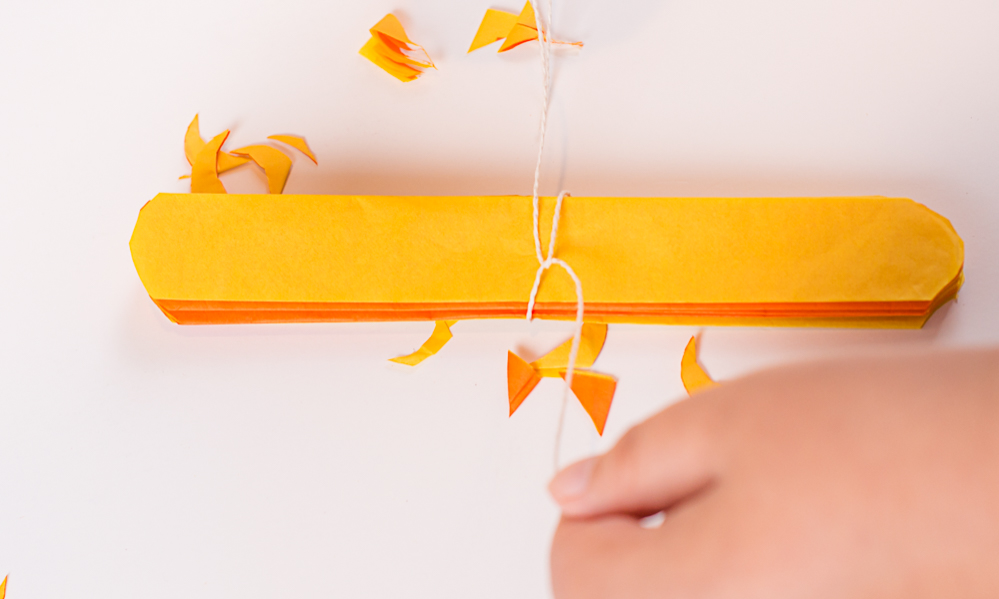
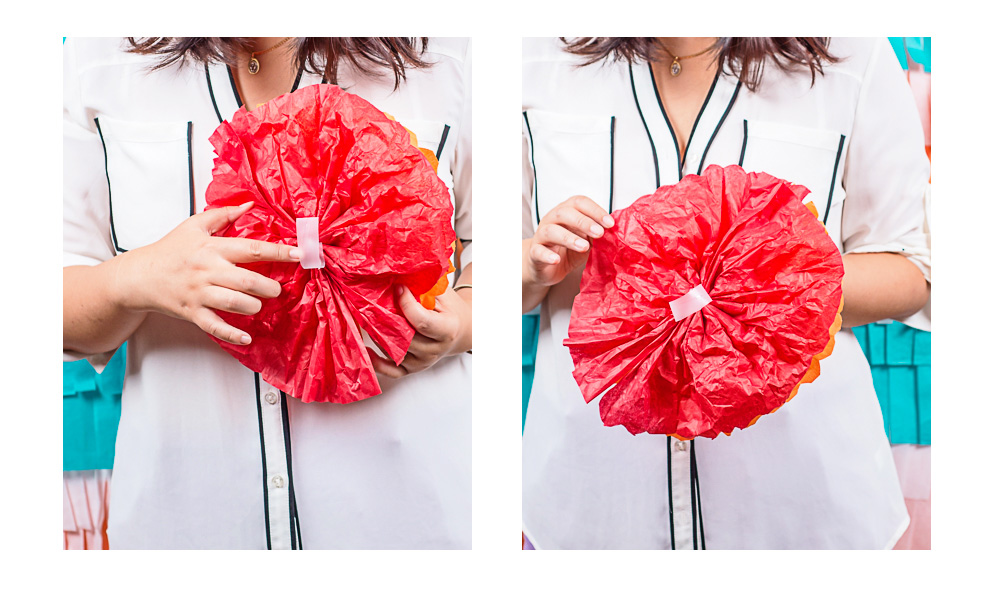
Once your sheets are stacked, start at one of the short sides and make a fold about 3/4 of an inch from the edge. Flip it over and do the same thing again, keep doing this until the whole thing is folded up like an accordion. Grab your scissors and round each of the corners so the ends look like semicircles. Then take a piece of string and tie it tightly around the center of the folded up paper so that it scrunches up in the middle. Cut the string short, then start unfolding the paper so that forms a circle. Once it looks something like a circle separate the sheets of tissue paper by pulling them apart with your fingers. This step can be a bit frustrating, but once it’s done the flower should look pretty good and it will hold itself open without any tape or other adhesive. If you plan on hanging the flowers from the ceiling instead of taping them to the wall, you can leave the piece of string long instead of cutting it.
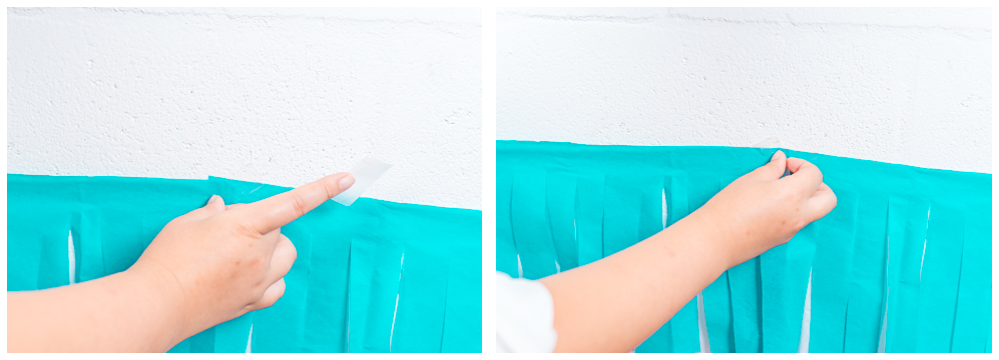
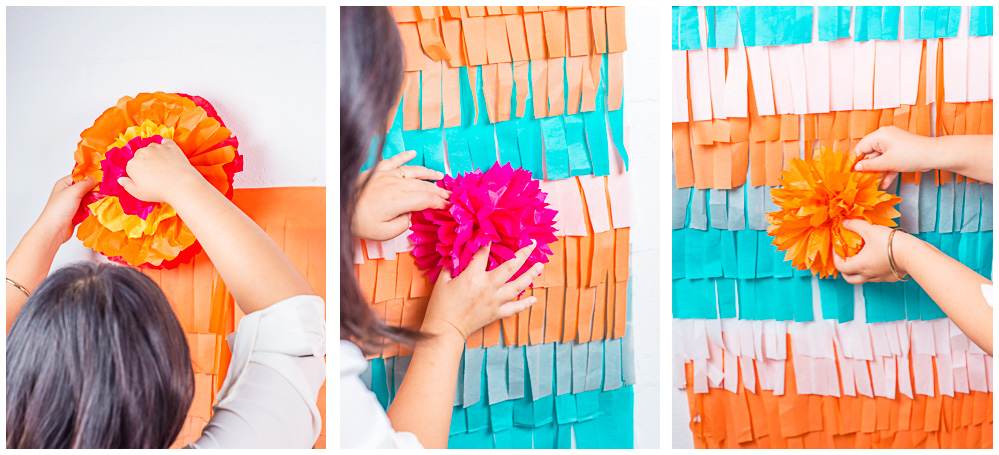
Now it’s time to put it all on the wall. If you are working with a partner here, one person should be the designated tape dispenser (thanks Jake!), and the other person should take those pieces and stick the paper to the wall. Start near the floor and work your way up so that the fringes of each piece hang over the piece below. Make sure they overlap quite a bit so the wall doesn’t show through. If your tissue paper has a shiny side and a dull side, be sure to tape it up with the dull side facing out to reduce glare from the lights.

When it’s time to attach the flowers, use a few loops of tape or double sided tape if you have it. Try to spread the flowers out. Remember that they are going to frame the person(s) posing in front of them, so don’t put them too far out toward the edges or they won’t be in the shot, and don’t bunch them in the middle because they won’t be visible behind the subject. Don’t be afraid to ask your human tape dispenser to stand in front of the background so you can look through your camera’s viewfinder to get a feel for how it will look.
We set up our backdrop in the garage and used it to photograph the pieces for my July order from Stitch Fix, if you would like to see the final product in action. This backdrop is good for parties or other occasions. It can also be good for weddings, especially if you have a second photographer at your wedding (like our clients do) who can take fun photos of the guests at the photo booth while the other walks around capturing the more candid moments.