Back in the day when I used to mainly do graphic design and assist on photo shoots, clients I designed for would sometimes come to me with questions about photography. Now that I’m a full time photographer, I sometimes get questions from clients about graphic problems they are having. I loved my experience in the graphic design industry, so I like to help with these questions whenever possible.
While we were talking with a bride to be, she got excited about an Instagram sign she loved, and a lightbulb lit up in my head. A sign for coordinating Instagram photos at a wedding is the perfect combination of photography and graphic design. I love the idea of my clients getting to see their wedding from the guests’ point of view, and I love the idea of my own photos being mixed in for all those guests to see. I also love the idea of designing such a sign for my clients to use at their weddings.
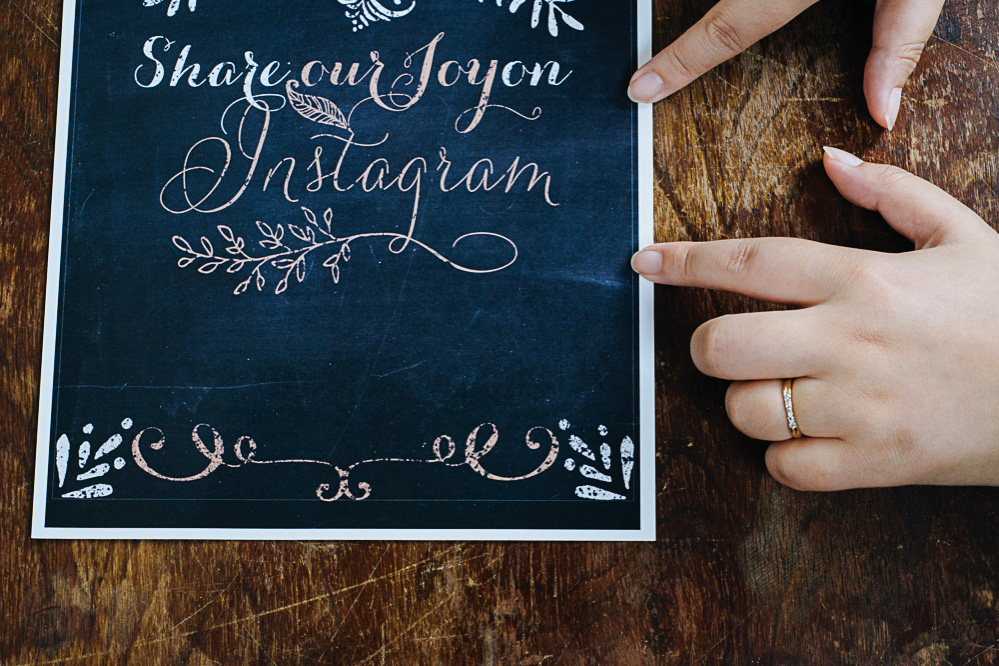
I’ve started a free download section for graphics on our blog, and the Instagram sign is the first item. It’s a quick little DIY project for budget brides, and you don’t even have to hire us to use it. I decided to go with a quaint chalkboard style that would work well for rustic themed weddings. Here’s the step by step for how to use it:
- Download the PDF and save it.
- Print the file. Since we intended for this to be a DIY project we wanted to make it inexpensive, so we just got it printed at the local Office Max. There’s no need to go to a top quality printer for a sign like this one that doesn’t have any photography, plus we didn’t want to wait (or pay) for delivery. We chose the thickest paper available, the #110, and it still cost less than a dollar.
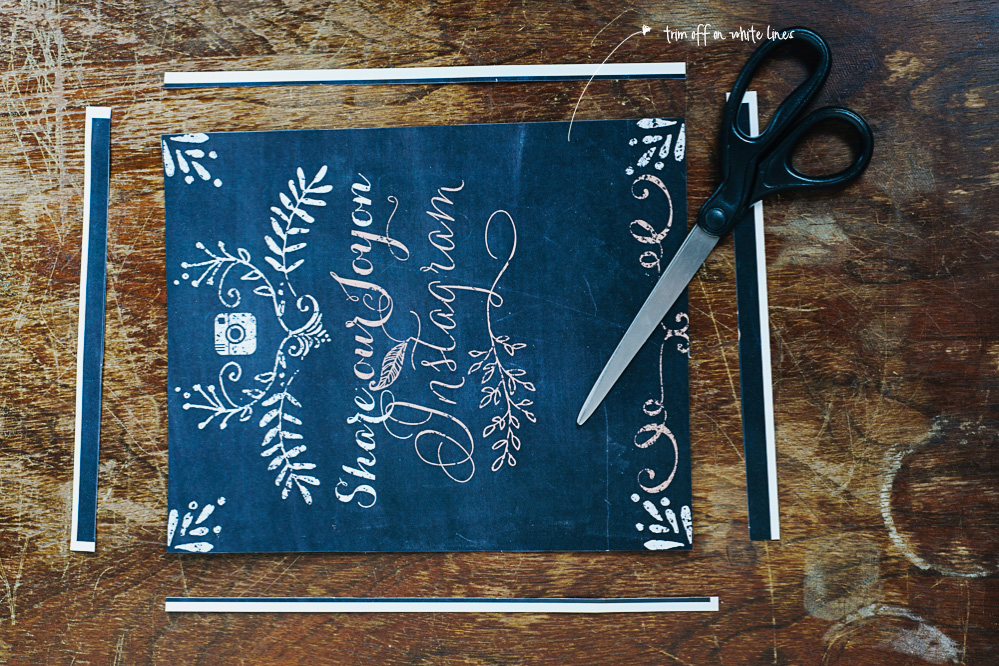
- Trim the image. This sign is meant for an 8X10 frame, but standard paper is 8.5X11. Luckily I included a faint white cutting line to help you trim it to just the right size. You can use scissors, but if you have a paper cutter it will go even faster. I used scissors for the demonstration because I suspect that’s what most people will use.
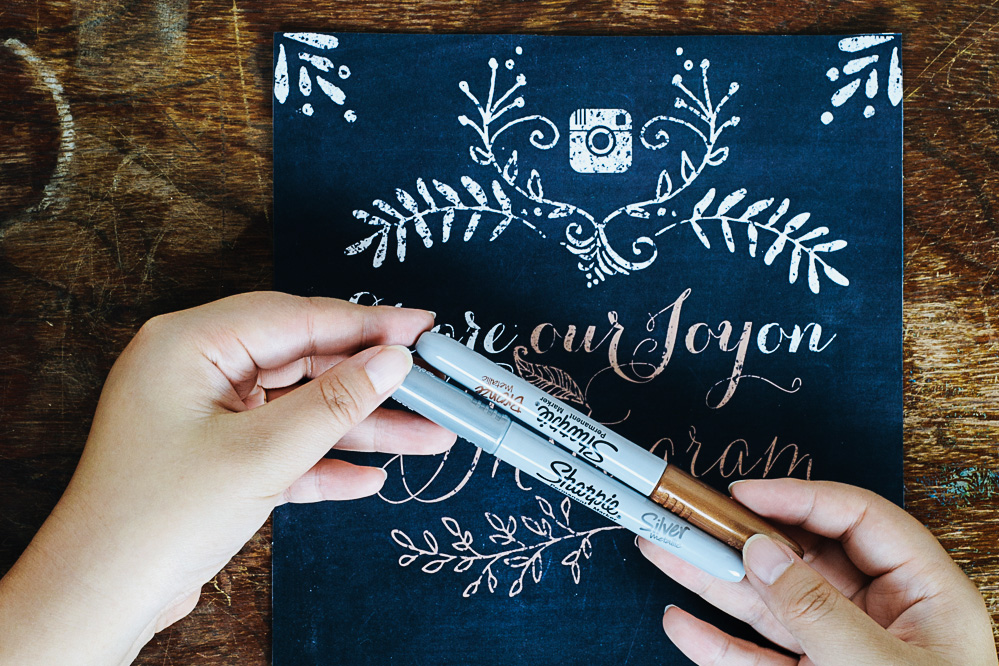
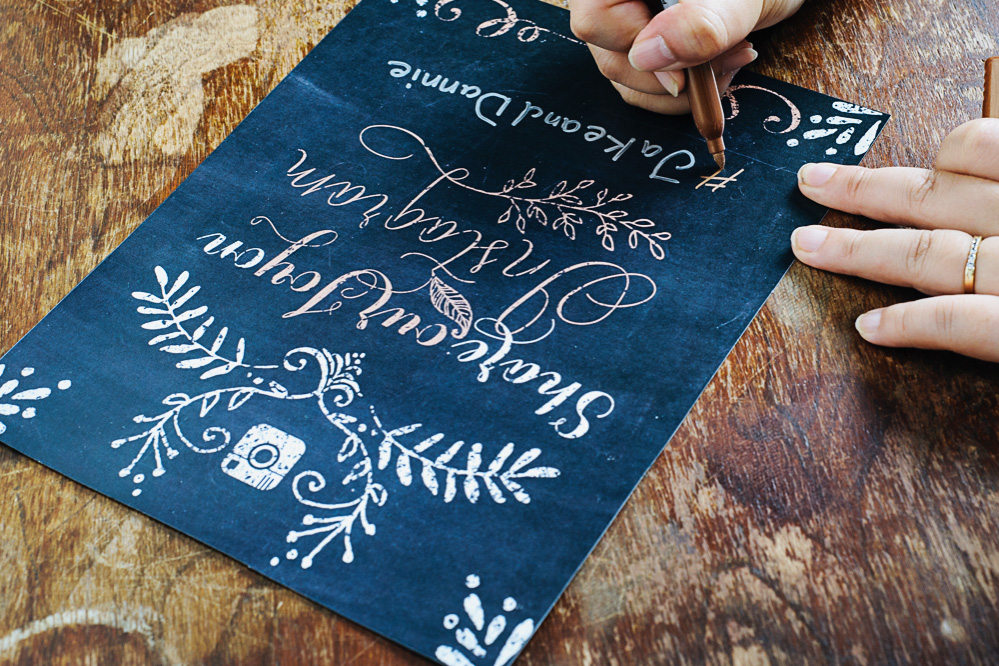
- Add your unique Instagram hashtag. I recommend using metallic markers. I bought a three pack of Sharpies that will work on almost any surface, which makes them useful for future DIY projects as well. As you can see I used our own Instagram hashtag for the demonstration - if you use this sign or any other product we create, we’d love for you to hashtag it #jakeanddannie on Facebook or Instagram.

If you’re looking for inspiration for your engagement photos, take a look at our portfolio and see what some of our clients have done.
The finished product should look something like this. Click here or on the image to download the template for your own use:
Let me know if you have any other cool ideas for projects or graphics you’d like to see on our blog. I had a ton of fun creating this one.

